Let's make a paper kaleidoscope
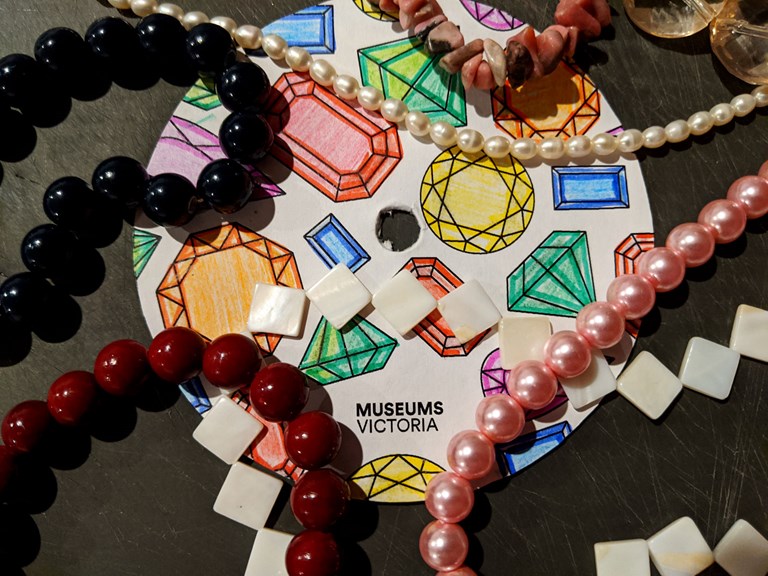
Take a stroll through the Dynamic Earth gallery at Melbourne Museum and it’s hard not to feel like you’re inside a kaleidoscope.
Rubies, diamonds, sapphires, opals- the earth has produced a dazzling variety of shapes and colours for us to enjoy. Use these as the inspiration for decorating your own paper kaleidoscope below.
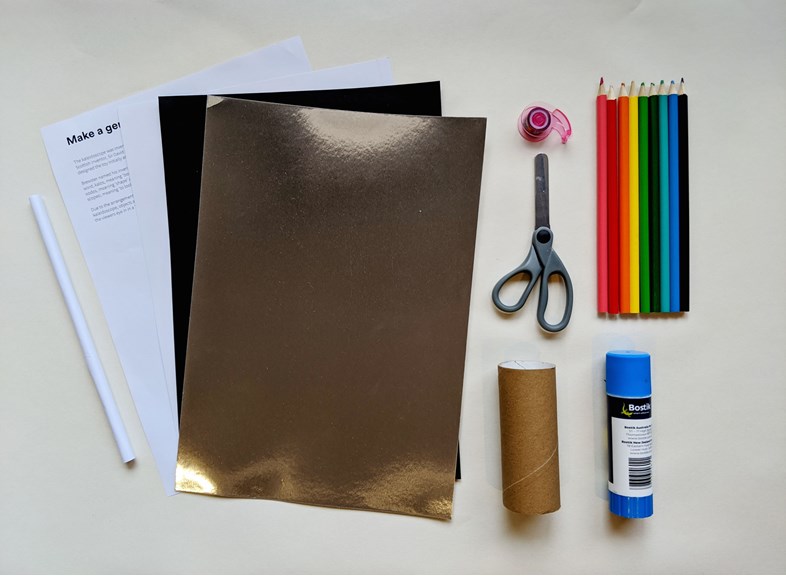
You will need
- Activity sheet (printed out):
- Coloured pencils or textas
- Paper or plastic straw
- Toilet-roll tube
- Scissors
- Glue
- Metallic-silver card (extra shiny)
- Other thick card
What to do
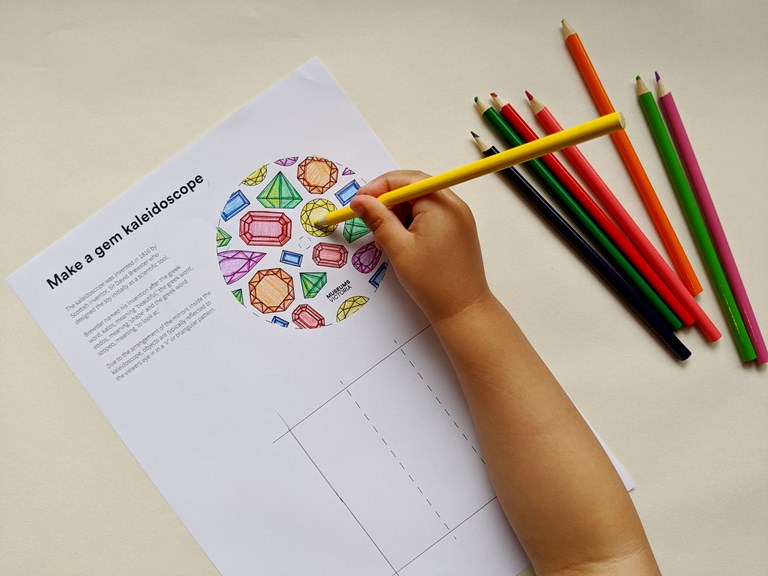
1. Colour in the patterned wheel template. Bold colours work best so make sure to use pencils or textas rather than crayons.
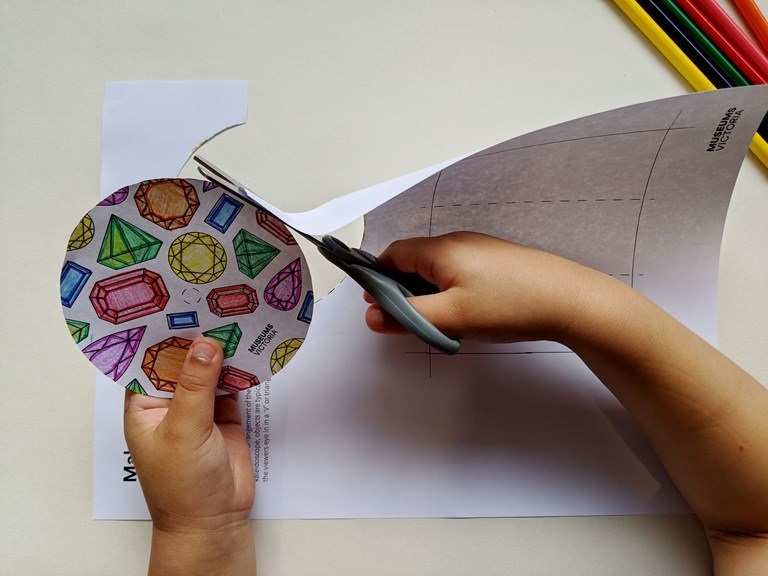
2. Carefully cut out the wheel and glue to a piece of thick card then allow to dry. Repeat the process using the rectangle template; this time adhering to the metallic-silver card. Cut out these two shapes making sure to punch out the central hole on the wheel.
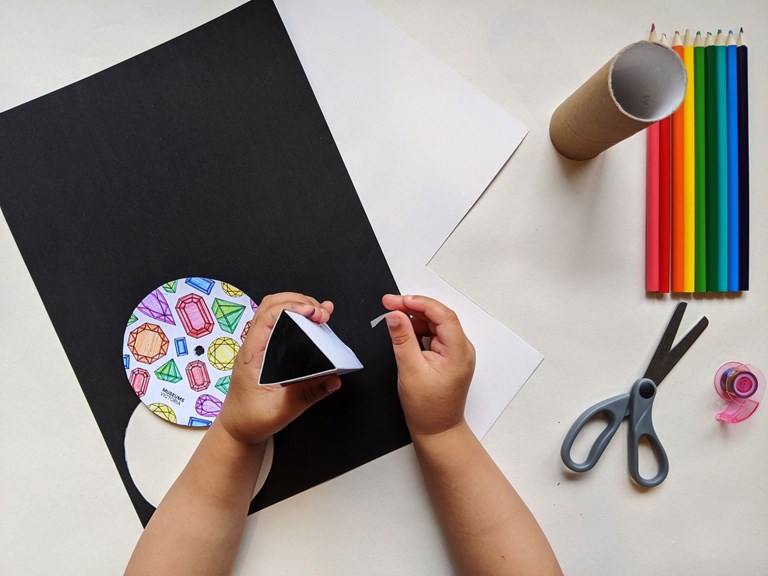
3. Fold the metallic silver rectangle into thirds, then fold it in on itself to create a mirrored prism. Affix with masking or cellophane tape.
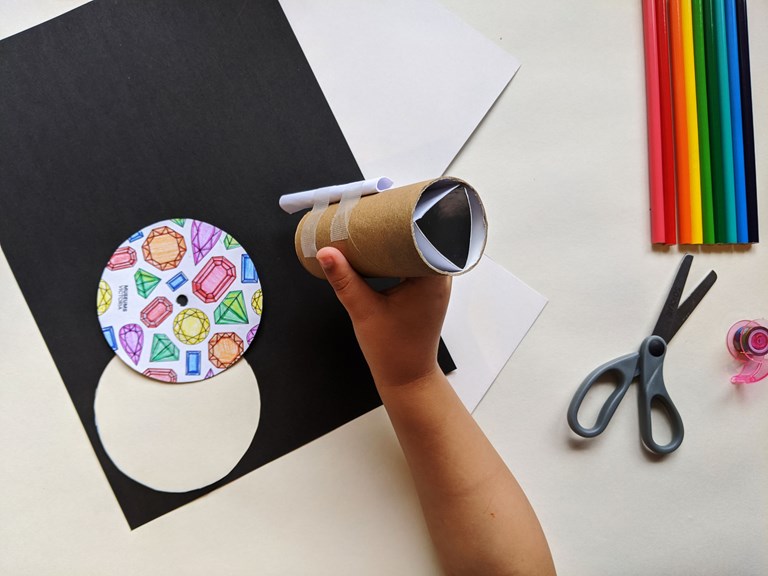
4. Insert the mirrored prism inside the toilet-roll tube. Depending on the diameter of this tube, you may need to adjust the dimensions of your prism in order for it to fit. NB. It is particularly important that the prism maintains its triangular shape inside the tube. If not, the kaleidoscope may not function correctly.
5. Attach the straw to the outside of the toilet-roll tube using some masking or cellophane tape. Ensure there is a small overhang so you can thread on the kaleidoscope wheel.
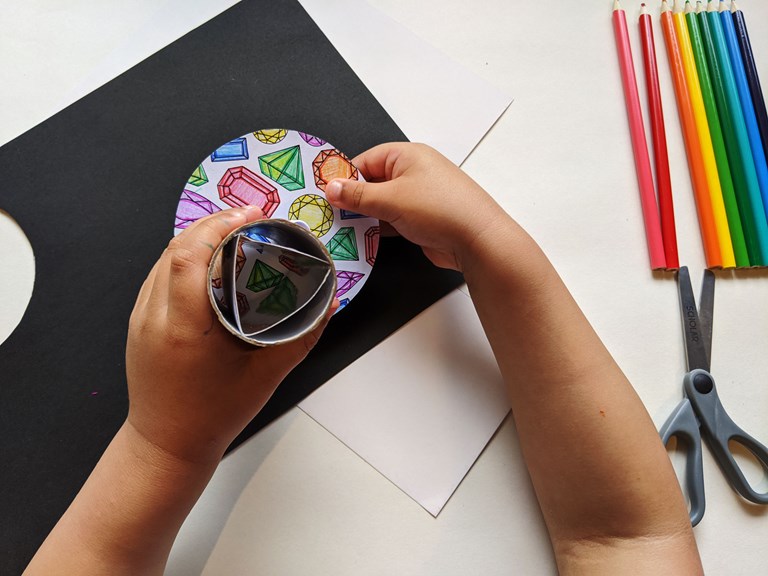
6. In a well-lit area, look through the open end of the toilet-roll tube while rotating the patterned wheel. Congratulation you have just made your own paper kaleidoscope! Why not create your own patterned wheel with an entirely different design?
