Prehistoric play dough
Simone absolutely loves the Mamenchisaurus. There’s one on her lunch box, another on her backpack... she even has a pair of earrings that look like the enormous dinosaur! The only thing she doesn’t have is a real Mamenchisaurus.
Until that day, perhaps you might like to join her as she moulds her very own – yes, you guessed it! Mamenchisaurus. Any soft, non-toxic play dough or plasticine will do. If you can’t find any, you can make your own using the simple recipe below.
You will need
- 2 cups all-purpose flour
- 3/4 cup salt
- 4 teaspoons cream of tartar
- 2 cups lukewarm water
- 2 tablespoons of vegetable oil
- Food colouring of your choice
Instructions
- Sift all the dry ingredients together into a large pot.
- Add the water and oil. Cook over medium heat, stirring constantly.
- Continue stirring until all of the ingredients have come together and thickened to form a ball.
- Remove from the heat and turn out onto a piece of wax paper to cool slightly.
- Portion your dough as required then knead in your desired food colouring until smooth.
- Store the play dough in an airtight bag or container until needed. Keeps for up to 3 months.
Let's Mould a Mamenchisaurus!
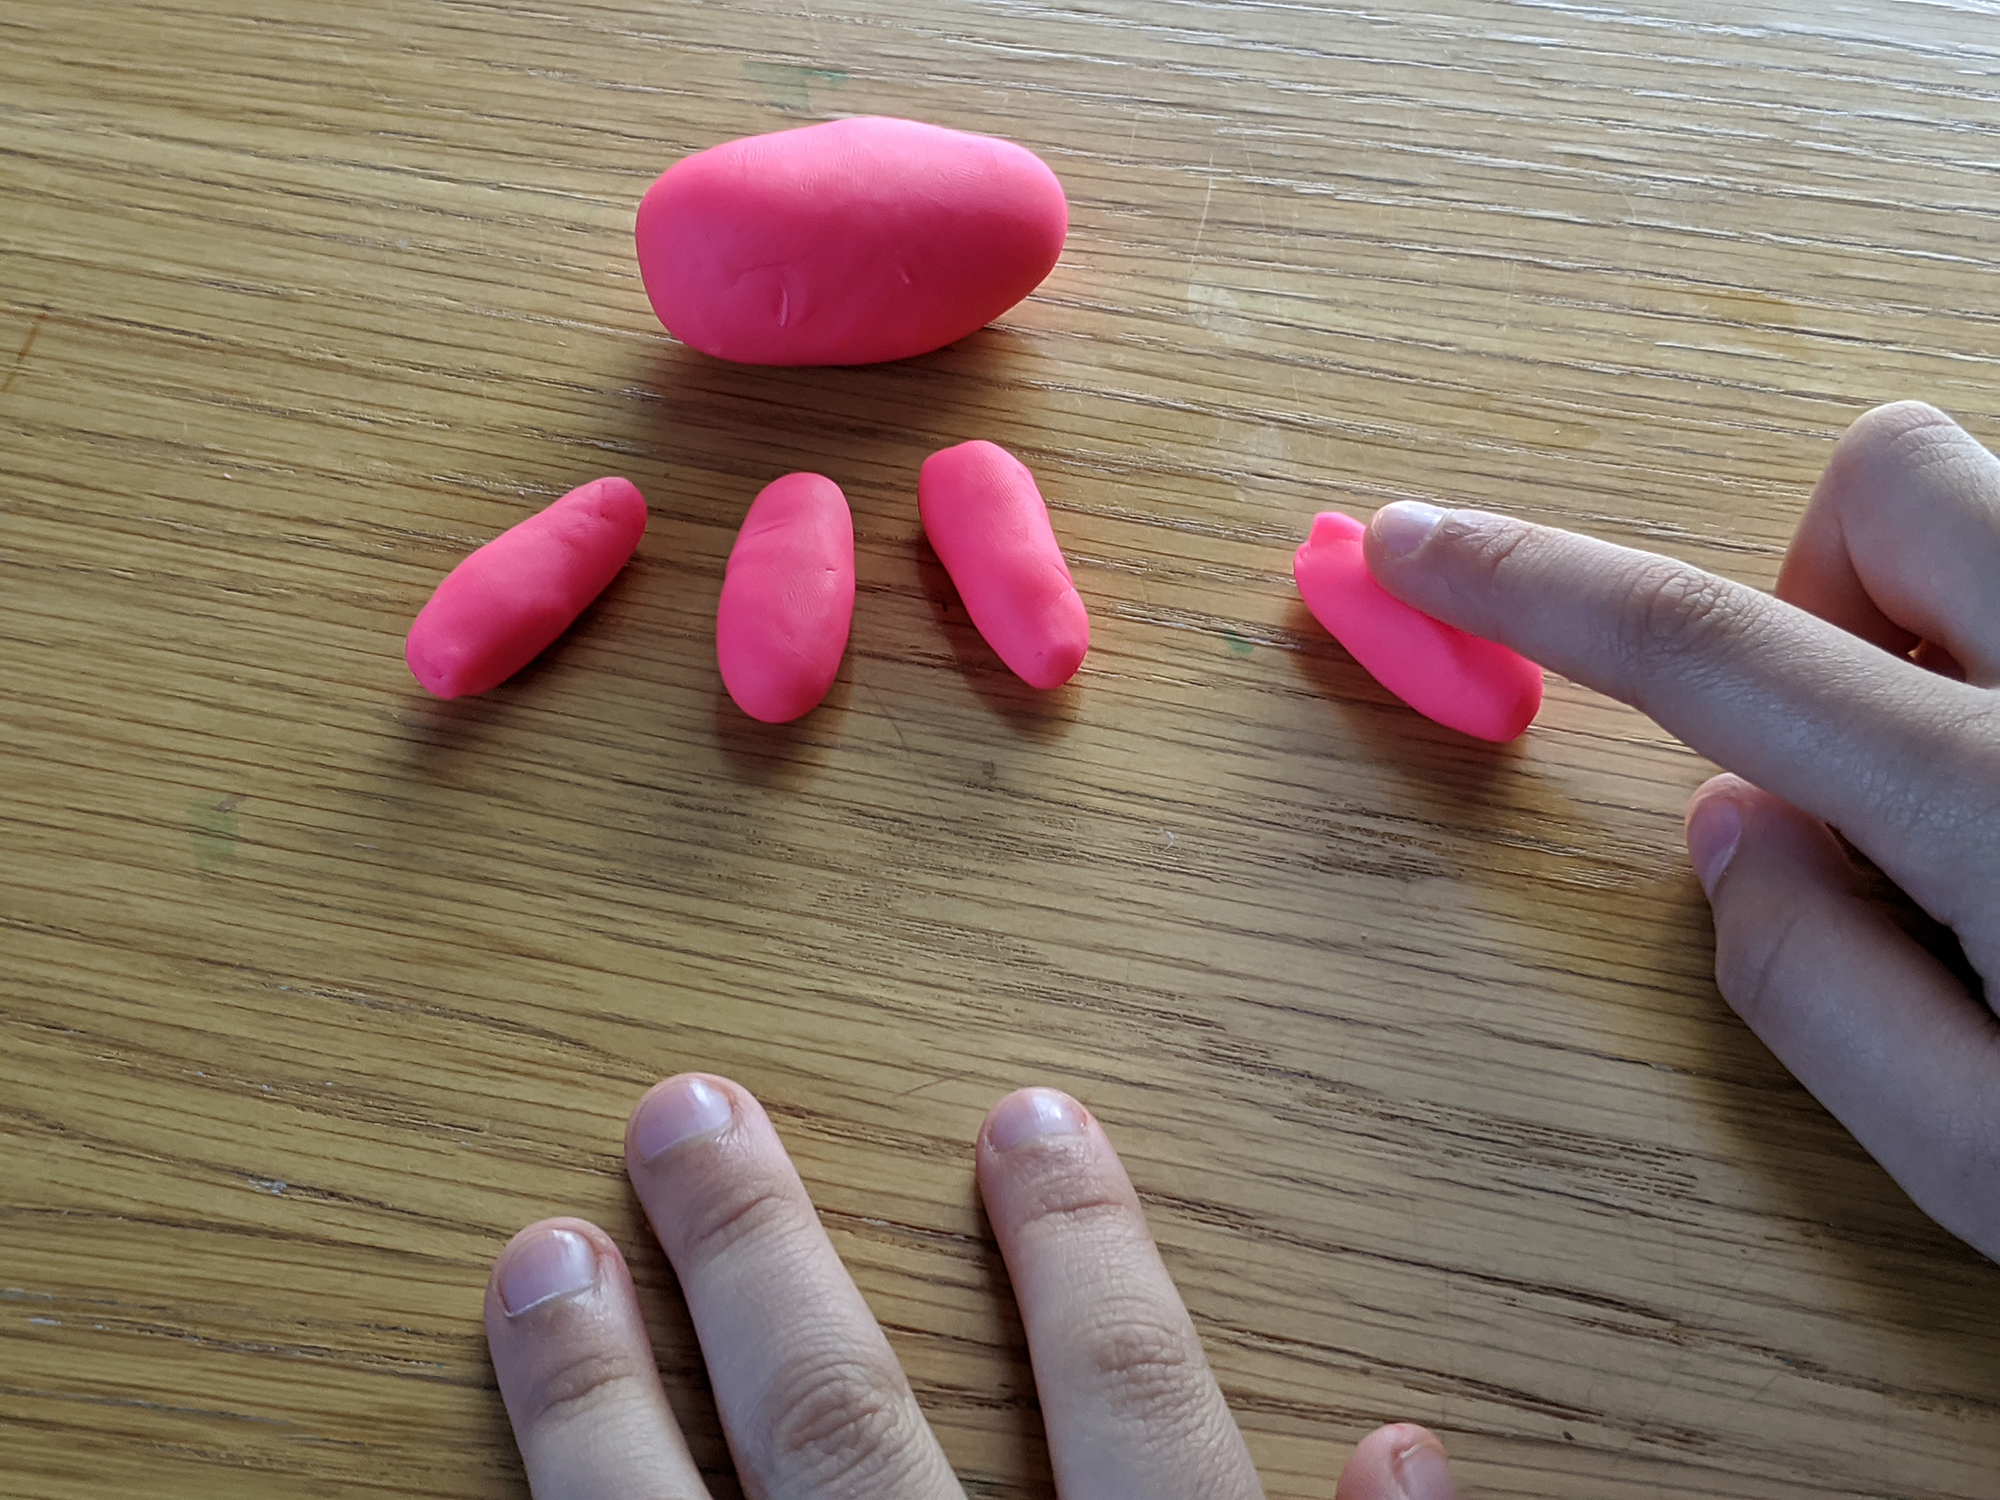
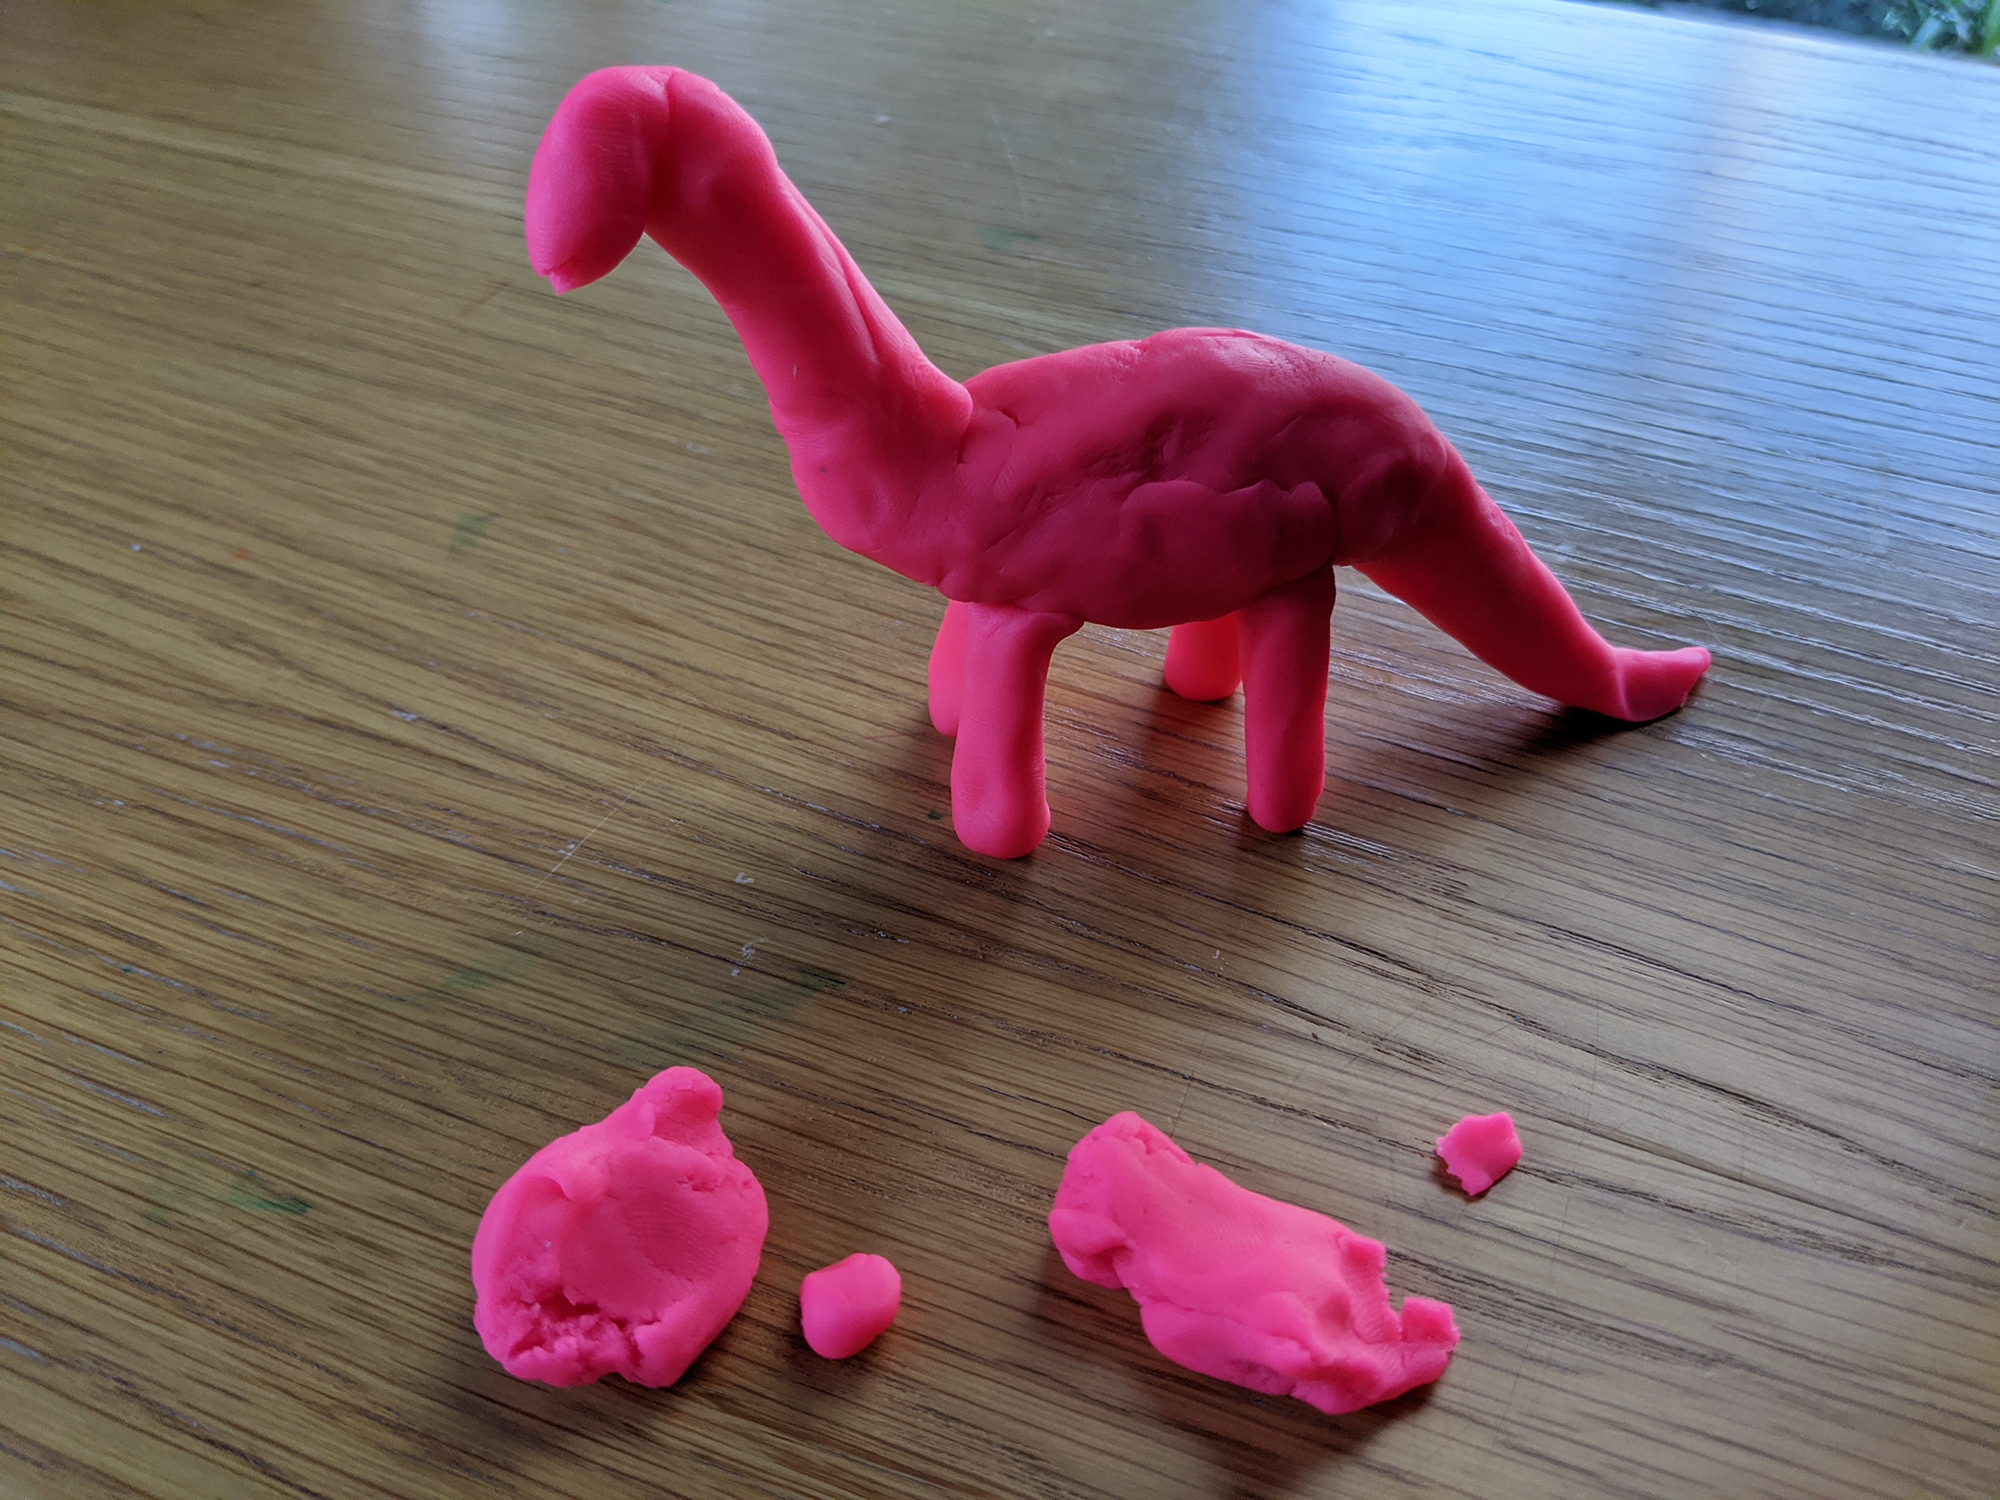
Step 1: Take a portion of play dough and divide it in half. Take one of these halves and mould 5 sausage-shaped pieces – 4 smaller ones for the feet and a larger one for the dinosaur’s body.
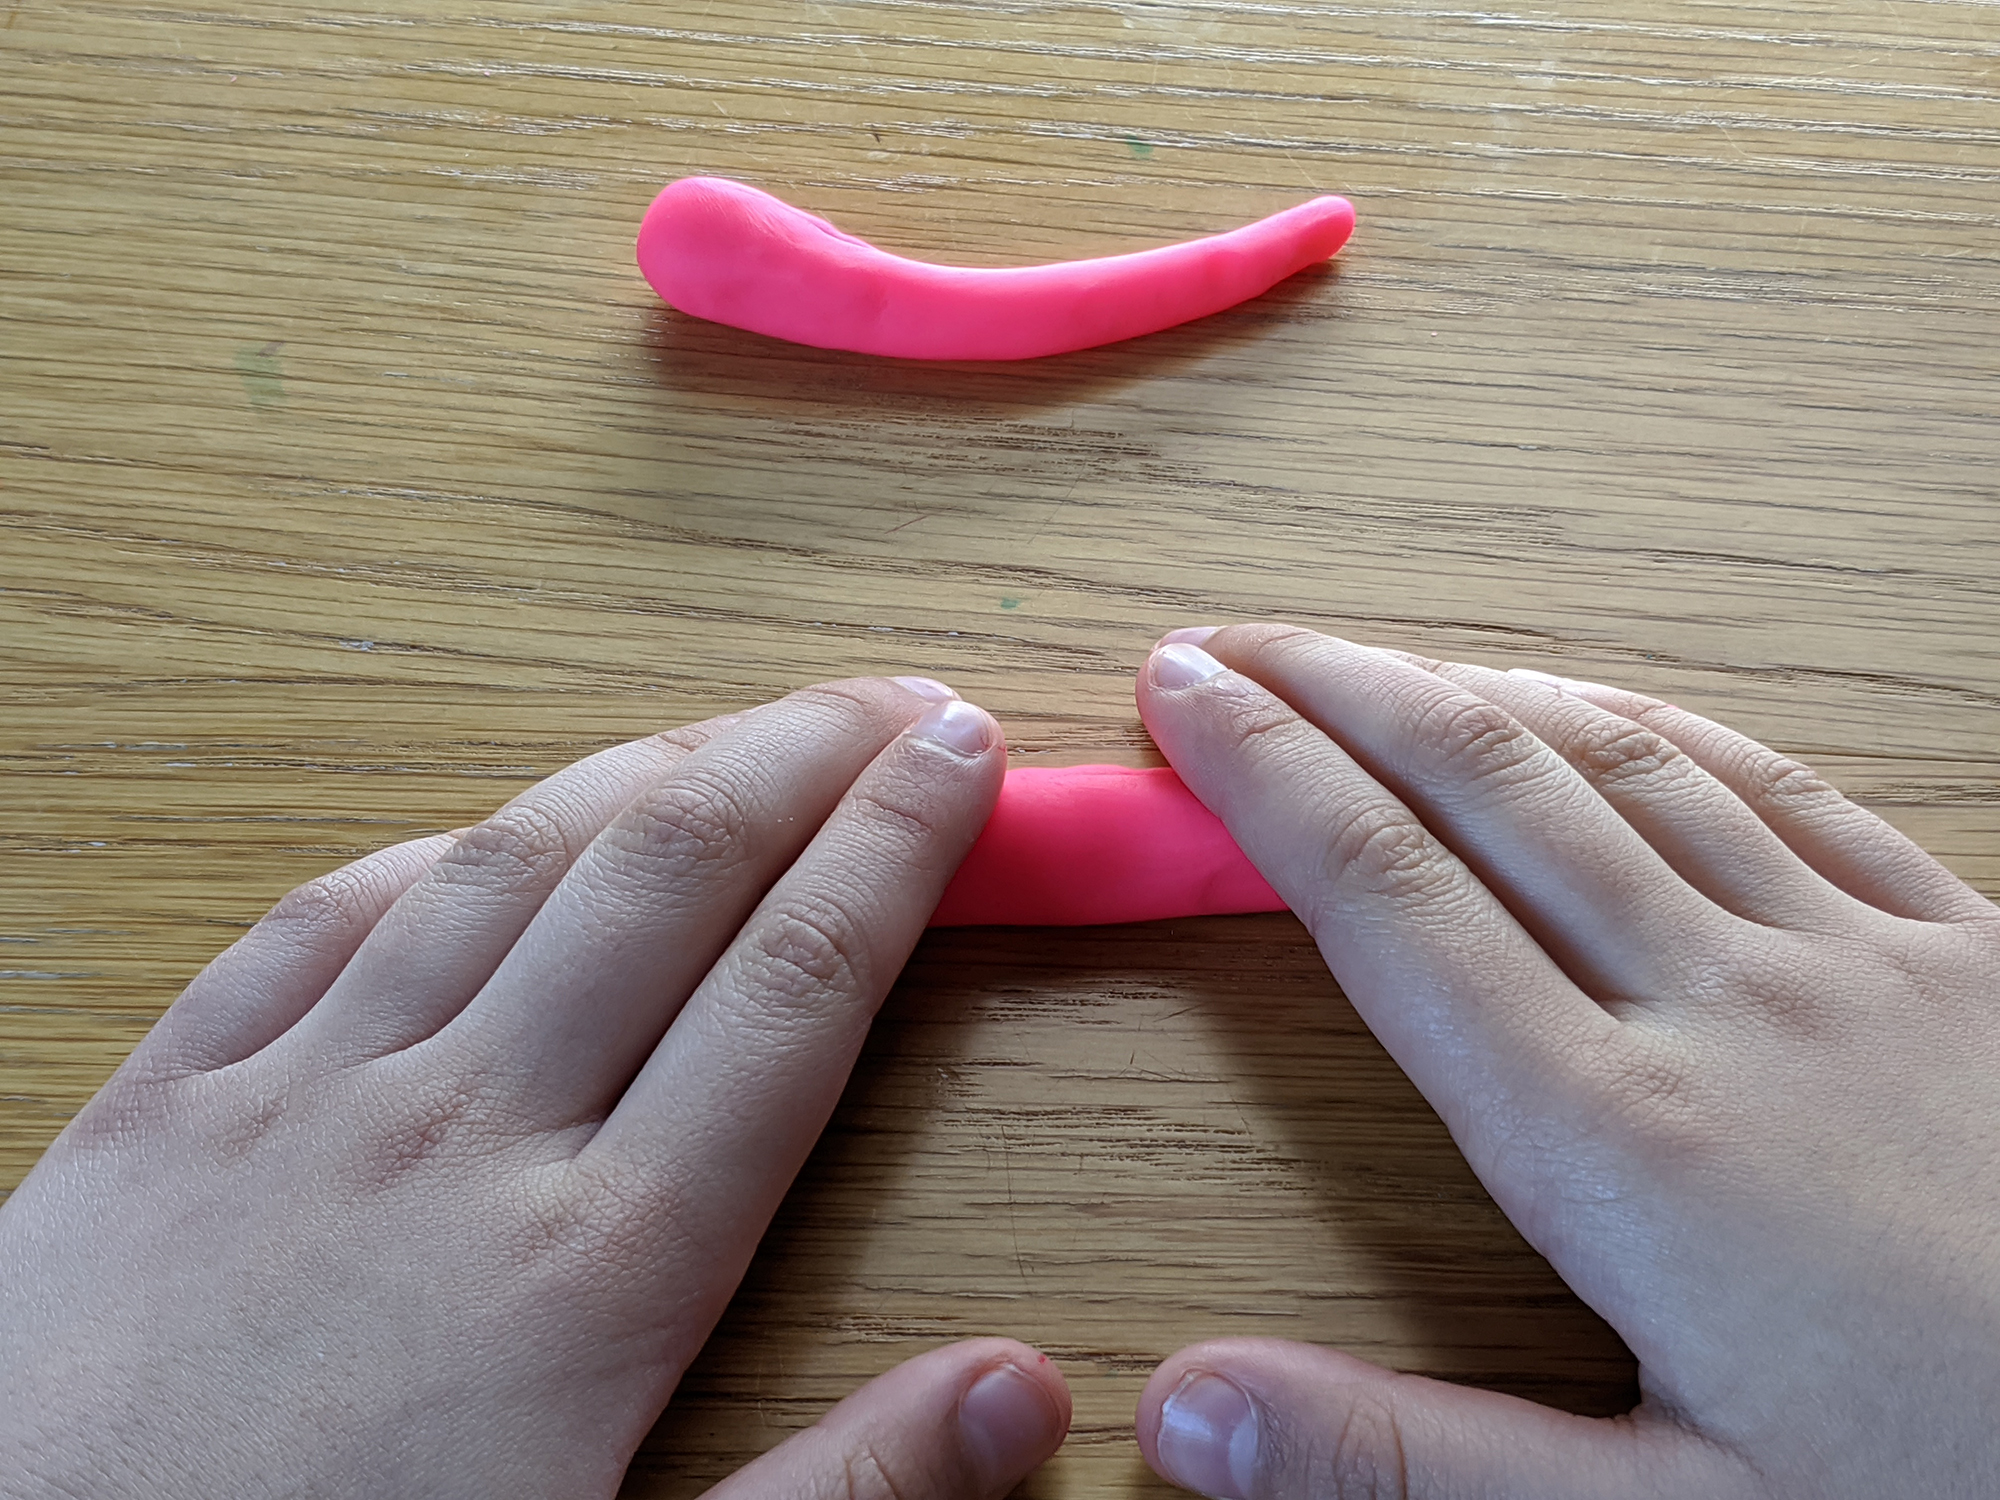
Step 2: Divide the unused portion of dough into half again. Fashion one of these into a long tail and the other into the head and neck of the Mamenchisaurus.
Step 3: Attach the feet, tail and neck to the body. Position these so the dinosaur stands steady.
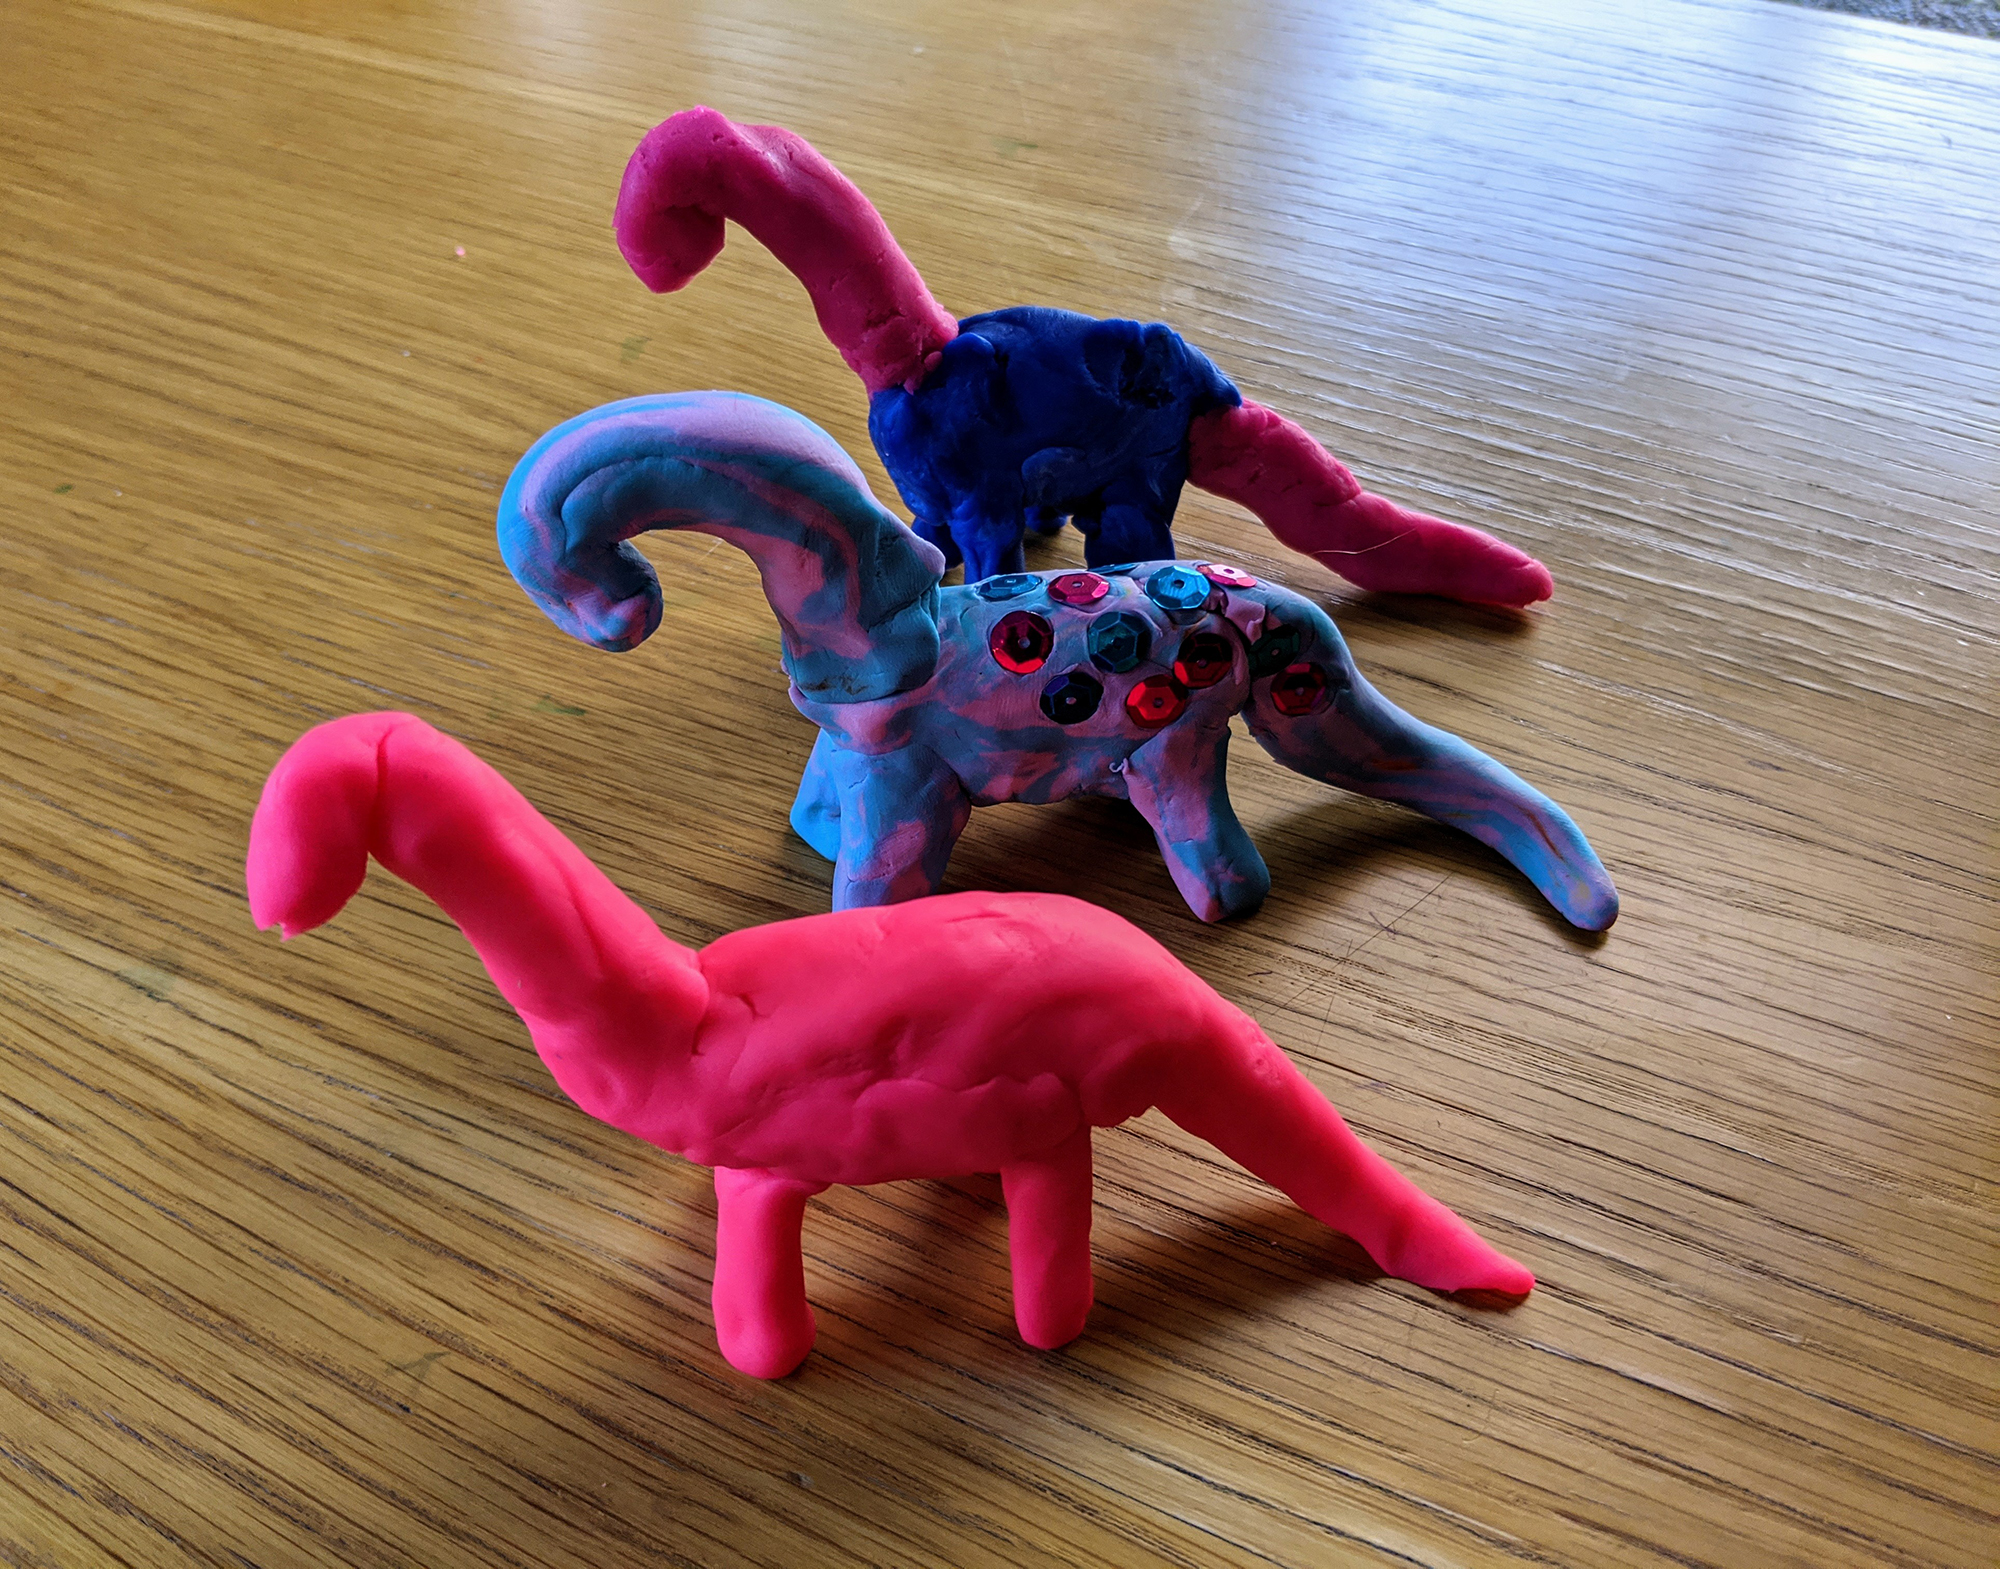
Step 4: Experiment with this basic design by using different colours or adding embellishments to your final creation!
Play Dough Power!
While some may find it surprising, play dough offers a wide array of developmental, learning and sensory benefits for children. It supports hand-eye coordination, encourages creativity and develops fine motor skills useful for the future. This is why it is a staple in almost every home and early childhood classroom around the world.
Why not unleash the power of play dough by incorporating some of the STEM learning concepts below?
- Provide sawdust or sand to add to the play dough then discuss about how this new kind of dough looks and feels. Is the texture smooth, lumpy or grainy? Extend the concept of cause and effect by adding your favourite essential oils to the mix as well. Just make sure they’re child-safe!
- Include props from around the home and encourage your child to incorporate these as either tools or decoration. How does a rolling pin change the shape of the dough? What happens when you press a leaf or feather into the dough?
- Have your child smash, push and pinch the play dough together to create new colours. How can you make orange, green or purple play dough? What happens when you adjust the quantities of colour in the mix?