5. How will you build and check your exhibit?
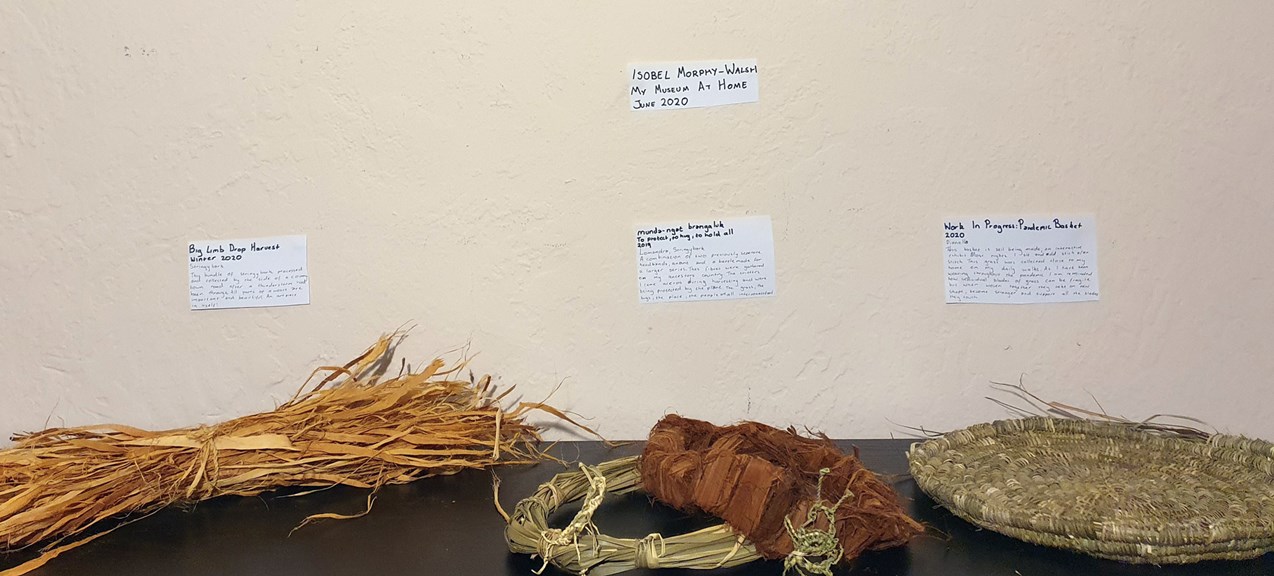
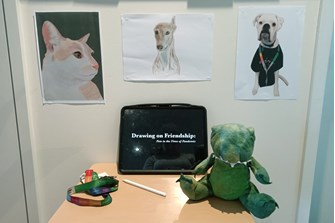
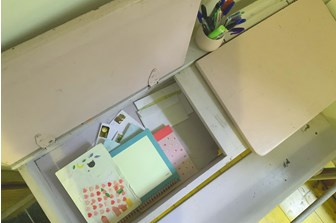
Look at these examples of exhibits that people have made at home.
Your exhibit
It’s time! Build your exhibit, using the design guidelines you created in Activity 3: How will you make it?.
Remember to ask for help when you need it—museum exhibits must always be made safely.
- Sometimes less is more
- Is everything clean and dusted? Your objects, surfaces, screens, etc?
- Think about the height of your objects (what’s the eye level of your visitors?)
- Check your lighting. Is everything visible? Do you need to add a lamp or spotlight?
- Check your multimedia. E.g. do you need speakers or headphones for your video?
- Double check your text labels. Are there any spelling mistakes? Is the font size large enough for your visitor to read easily?
- Do any of your objects need support to stand up or stay stable? If you’re attaching things to a wall, what will you use?
- Check if you need any last-minute paint touch-ups or extra gaffer tape (tape shouldn’t be visible though!).
Congratulations on launching your exhibit. Give yourself a giant pat on the back.
Show your exhibit to someone. Interview your visitor about what they learned and felt from your exhibit.
For example, you could ask things like:
- What did you find out from the exhibit?
- How did you feel?
- What did you find surprising?
- What will you remember most about it?
Do the visitor’s answers match the goals you wrote down in Activity 1: Who's visiting?
Is there anything you would like to change about your exhibit after hearing your visitor feedback?
Documenting and sharing
Museums often document exhibitions by taking photos and writing descriptions. It helps share the experience with people who can’t visit in real life—whether they’re too far away, the exhibition has closed, or any other reason.
- Document your exhibit by taking photos.
Take at least one photo that shows the whole exhibit, or something important about the experience. If you like, you could show your visitor enjoying the exhibit. - Write a description of your exhibit.
Where is it? What story does it tell? How did you create it? What do your visitors see, hear, learn and feel?
Remember to describe any parts of the exhibit you can’t see in the photos—like any sounds, smells, videos or things to touch.
Sharing (for teachers and adults)
- Add the exhibit to the virtual Museum of Staying Home exhibition.
Follow the link below, add the student’s first name and the description they wrote, and attach the documentation photo of the exhibit.


